by Mike Elliott, Kettle River Canoes
email: artisan@canoeshop.ca
Once the canoe has been canvassed, the filler has been applied and the keel and stem-bands have been installed, it is ready for paint. Here are five secrets for a professional paint job:

Tip #1 – Paint First, Then Assemble – Fifty years ago, the canoe builders in the factories were in production mode. To save time and space, they installed the outwales before applying varnish and paint. However, this caused two problems in the years to follow. First, the canvas under the outwales is not protected with paint. Second, the inside surface of the outwales is bare, unprotected wood. Over years of use, water can become trapped under the outwales. This moist environment can be ideal for growing the fungi that cause rot.

Two things can happen: a) the canvas can rot under the outwales causing the canvas to detach from the canoe and; b) the outwales can rot from the inside out.

To avoid these problems, paint the canvas and varnish the outwales (being sure to seal all of the surfaces) before the outwales are installed. Some builders go so far as to apply varnish along the cut edge of canvas before the outwales are installed.

Tip #2 – Sanding, Sanding and More Sanding – Generally speaking, the more you sand, the smoother the final finish. Also, the more meticulous you are about sanding, the better the end results. Before starting to paint the filled canvas, sand the filler with 120-grit sandpaper. I use a random-orbital sander for this job.

Any tacks in the canoe hull that are not flush to the hull will show up as you sand. It is essential to stop sanding immediately and re-clinch the tack to avoid creating a nice, round, tack-sized hole in the canvas.

For all practical purposes, oil-based alkyd enamel paint is essentially heavily pigmented varnish. Both are handled in exactly the same way except that while the surface of varnish is scratched with steel-wool between coats, the paint surface is scratched with wet sandpaper. I use 120-grit wet sandpaper between the first and second coats of paint. I then use 220-grit wet sandpaper between the second and third coats and, if I decide to apply four coats of paint, I use 320-grit wet sandpaper between the third and fourth coats. As always, be sure to clean the surfaces well before applying the finish. Remove sanding dust with a brush or vacuum. Then, remove remaining dust with a tack cloth.

Tip #3 – A Little Thinner – Some articles about oil-based paints and varnishes would have you believe that avoiding streaks and bubbles in the final finish is one of life’s great challenges. In fact, there is no great mystery to it. Thin the paint (or varnish) about 12% with mineral spirits (paint thinner) before using it. The thinned paint will self-level once it is applied. The additional solvent also allows the paint to dry before sags and drips develop. For a canoe, any alkyd enamel works well and provides a tough, flexible finish. Recent changes to federal regulations in Canada make it difficult, if not impossible, to buy oil-based marine enamel. Just go to your local hardware store and pick up a gallon of oil-based “rust paint” (Rustoleum, Tremclad or any store-brand). The label will say “For Metal Use Only”. I’m sure they just forgot to include “Canvas-Covered Canoe” in the label. I would gladly use a water-based paint for the canvas, but at this point, oil-based alkyd enamel is the only paint that works.

Tip #4 – Tip It, Then Leave It – As with any paint, you must maintain a “wet edge” while applying it to a large surface. Therefore, it is important to work in small sections of the canoe. Apply the paint quickly and vigorously to get complete coverage. Don’t worry about streaks or bubbles. Just make sure the paint covers the area without using too much. I use a high-quality natural bristle brush to apply the first and second coats.

I use a disposable foam brush to apply the third (and, if you so choose, the fourth) coat of paint. Once you have applied paint to a small section of the canoe, hold the brush at a 45° angle to the surface and lightly touch the brush to the wet surface. Move the brush quickly over the surface to “tip” the finish. Do this first vertically from top to bottom and then horizontally. After the section is painted and tipped in two directions, move to the next section. Continue in this way until you have done the entire canoe. Check to make sure there is no excess paint dripping anywhere – especially at the ends. Then, go away and leave it alone for 48 hours.

Tip #5 – Protect Your Work – Are we done yet? Well, that depends on whether or not you want to protect that beautiful new finish. Once I have applied the final coat of paint and allowed it to dry for two days, I apply a coat of carnauba wax (pronounced car-NOO-bah) obtained at the local auto supply shop.

Follow the directions and use lots of muscle (or a good buffing wheel). If you’ve never tried it, waxing the canoe is worth it just for the experience of shooting effortlessly through the water. It’s like waxing a surfboard – the results are amazing. Also, the paint is protected from minor scuffs and scratches. Any oil-based finish takes several months to cure completely, so the wax helps protect it in the early months of use.
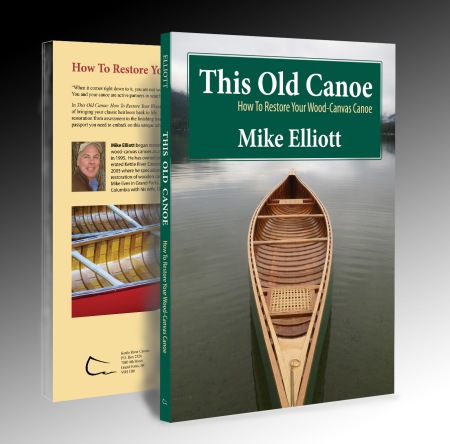
All of this (and much more) is described in my book – This Old Canoe: How To Restore Your Wood Canvas Canoe.
If you live in Canada, CLICK HERE to buy the book.
If you live in the USA, CLICK HERE to buy the book.
If you live in the UK, CLICK HERE to buy the book.
Si vous habitez en France, CLIQUEZ ICI acheter le livre.
If you have read the book, please post a review on Amazon and/or Goodreads and/or any other review site.